Hardware troubleshooting is the process of narrowing a physical-device symptom with observations and controlled comparisons. This guide focuses on displays, connections, accessories, and deciding when professional service is appropriate. For a whole desktop or laptop that will not start, use the linked computer guide; for operating-system errors, use the platform-specific guide.
Part of the complete tech troubleshooting guide. Use this page to select a path, then follow the article that matches your exact symptom.

1. Choose your hardware troubleshooting guide
Start with the closest observable symptom. Each link below has a different purpose; you do not need to work through every article in order.
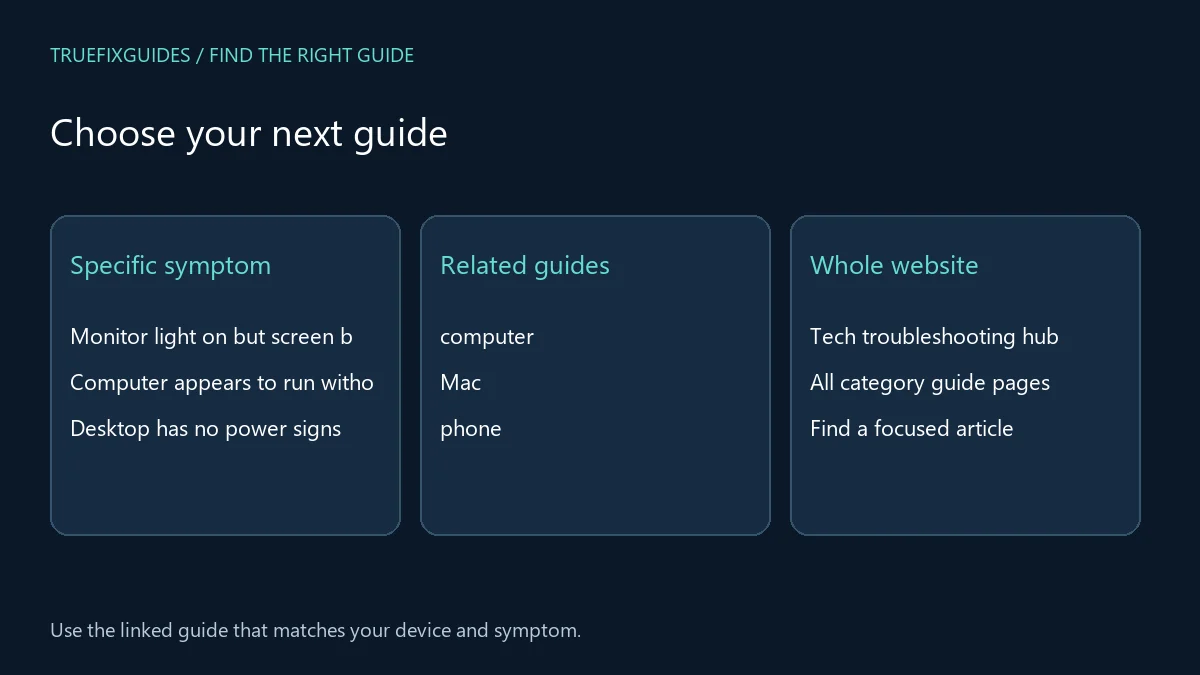
- Monitor light on but screen black — Use the display symptom guide to separate power indication, input selection, and the signal path.
- Computer appears to run without an image — This related computer guide helps when the display symptom may be connected to startup.
- Desktop has no power signs — Move to the computer startup path when the entire machine appears unpowered.
- Mac Bluetooth accessory problem — Use the Mac-specific guide for pairing and detection rather than assuming a failed radio.
- Mac external storage problem — Distinguish detection and mounting from file access before considering hardware replacement.
2. Define what the hardware is doing
Record the manufacturer, model, indicator behavior, and exact symptom. For a monitor, distinguish no power, no signal, a lit but black screen, and an image that appears only sometimes. For an accessory, note whether it is detected and whether it works partially. A precise description avoids treating every black screen or failed connection as the same component fault.
3. Map the complete connection path
List the device, cable, adapter, dock, port, and power source involved. A problem anywhere in that path can produce a similar symptom at the end. Use the manufacturer’s compatibility guidance for replacements or test equipment. Hardware troubleshooting is most useful when the record identifies which connection was changed and whether the same behavior followed it.

4. Use controlled external comparisons
Where practical, compare one compatible cable, port, or accessory at a time while keeping the rest of the setup constant. Record both successful and failed combinations. Avoid interpreting one test as proof that every internal component is healthy. A working alternative narrows the investigation; it does not automatically establish the exact cause or justify replacing an expensive part.
5. Recognize when to stop and request service
Stop ordinary troubleshooting if there is visible battery damage, liquid exposure, a burning smell, or another sign that handling the device could be unsafe. Do not open mains power supplies or improvise internal electrical repairs. Use the manufacturer’s service route and disclose the symptom history. Ask what the proposed diagnosis covers, what data may be affected, and what approval is needed before paid work begins.
6. Verify your hardware troubleshooting result
The direct Hardware Fixes archive currently has a focused display guide; related computer and Mac articles provide additional routes without implying coverage of every repair. Keep hardware troubleshooting evidence concrete: exact setup, controlled comparisons, outcome, and remaining uncertainty. If service is needed, this record helps a technician reproduce the symptom and propose a relevant next step.
For the relevant official reference, use Apple’s official service and repair options. Match the product and version before applying a procedure.
Related guide pages and complete article list
For a symptom that belongs to another layer, continue with computer troubleshooting guide, Mac troubleshooting guide, phone troubleshooting guide. Return to the main tech troubleshooting guide when you are unsure which category fits.
The Hardware Fixes archive lists all published articles in this category. This guide provides the starting paths; the archive is useful for finding additional or newly published topics.
Frequently asked question
Does an indicator light identify the broken component?
Usually it is only one clue. Interpret indicators using the device manual and compare the full connection path. Similar lights can accompany different causes on different models.
Guide directory reviewed October 24, 2026. Prepared with AI assistance and linked source review. Diagrams are explanatory, not screenshots or evidence of hands-on testing.